I’ve been interested in 3D printers for a while now, in particular the thought of being able to take some. of. my. hardware projects to the next level with custom printed cases & components was very compelling to me. So I decided recently to take the plunge and purchase my first 3D printer to see if my expectations matched whats available.
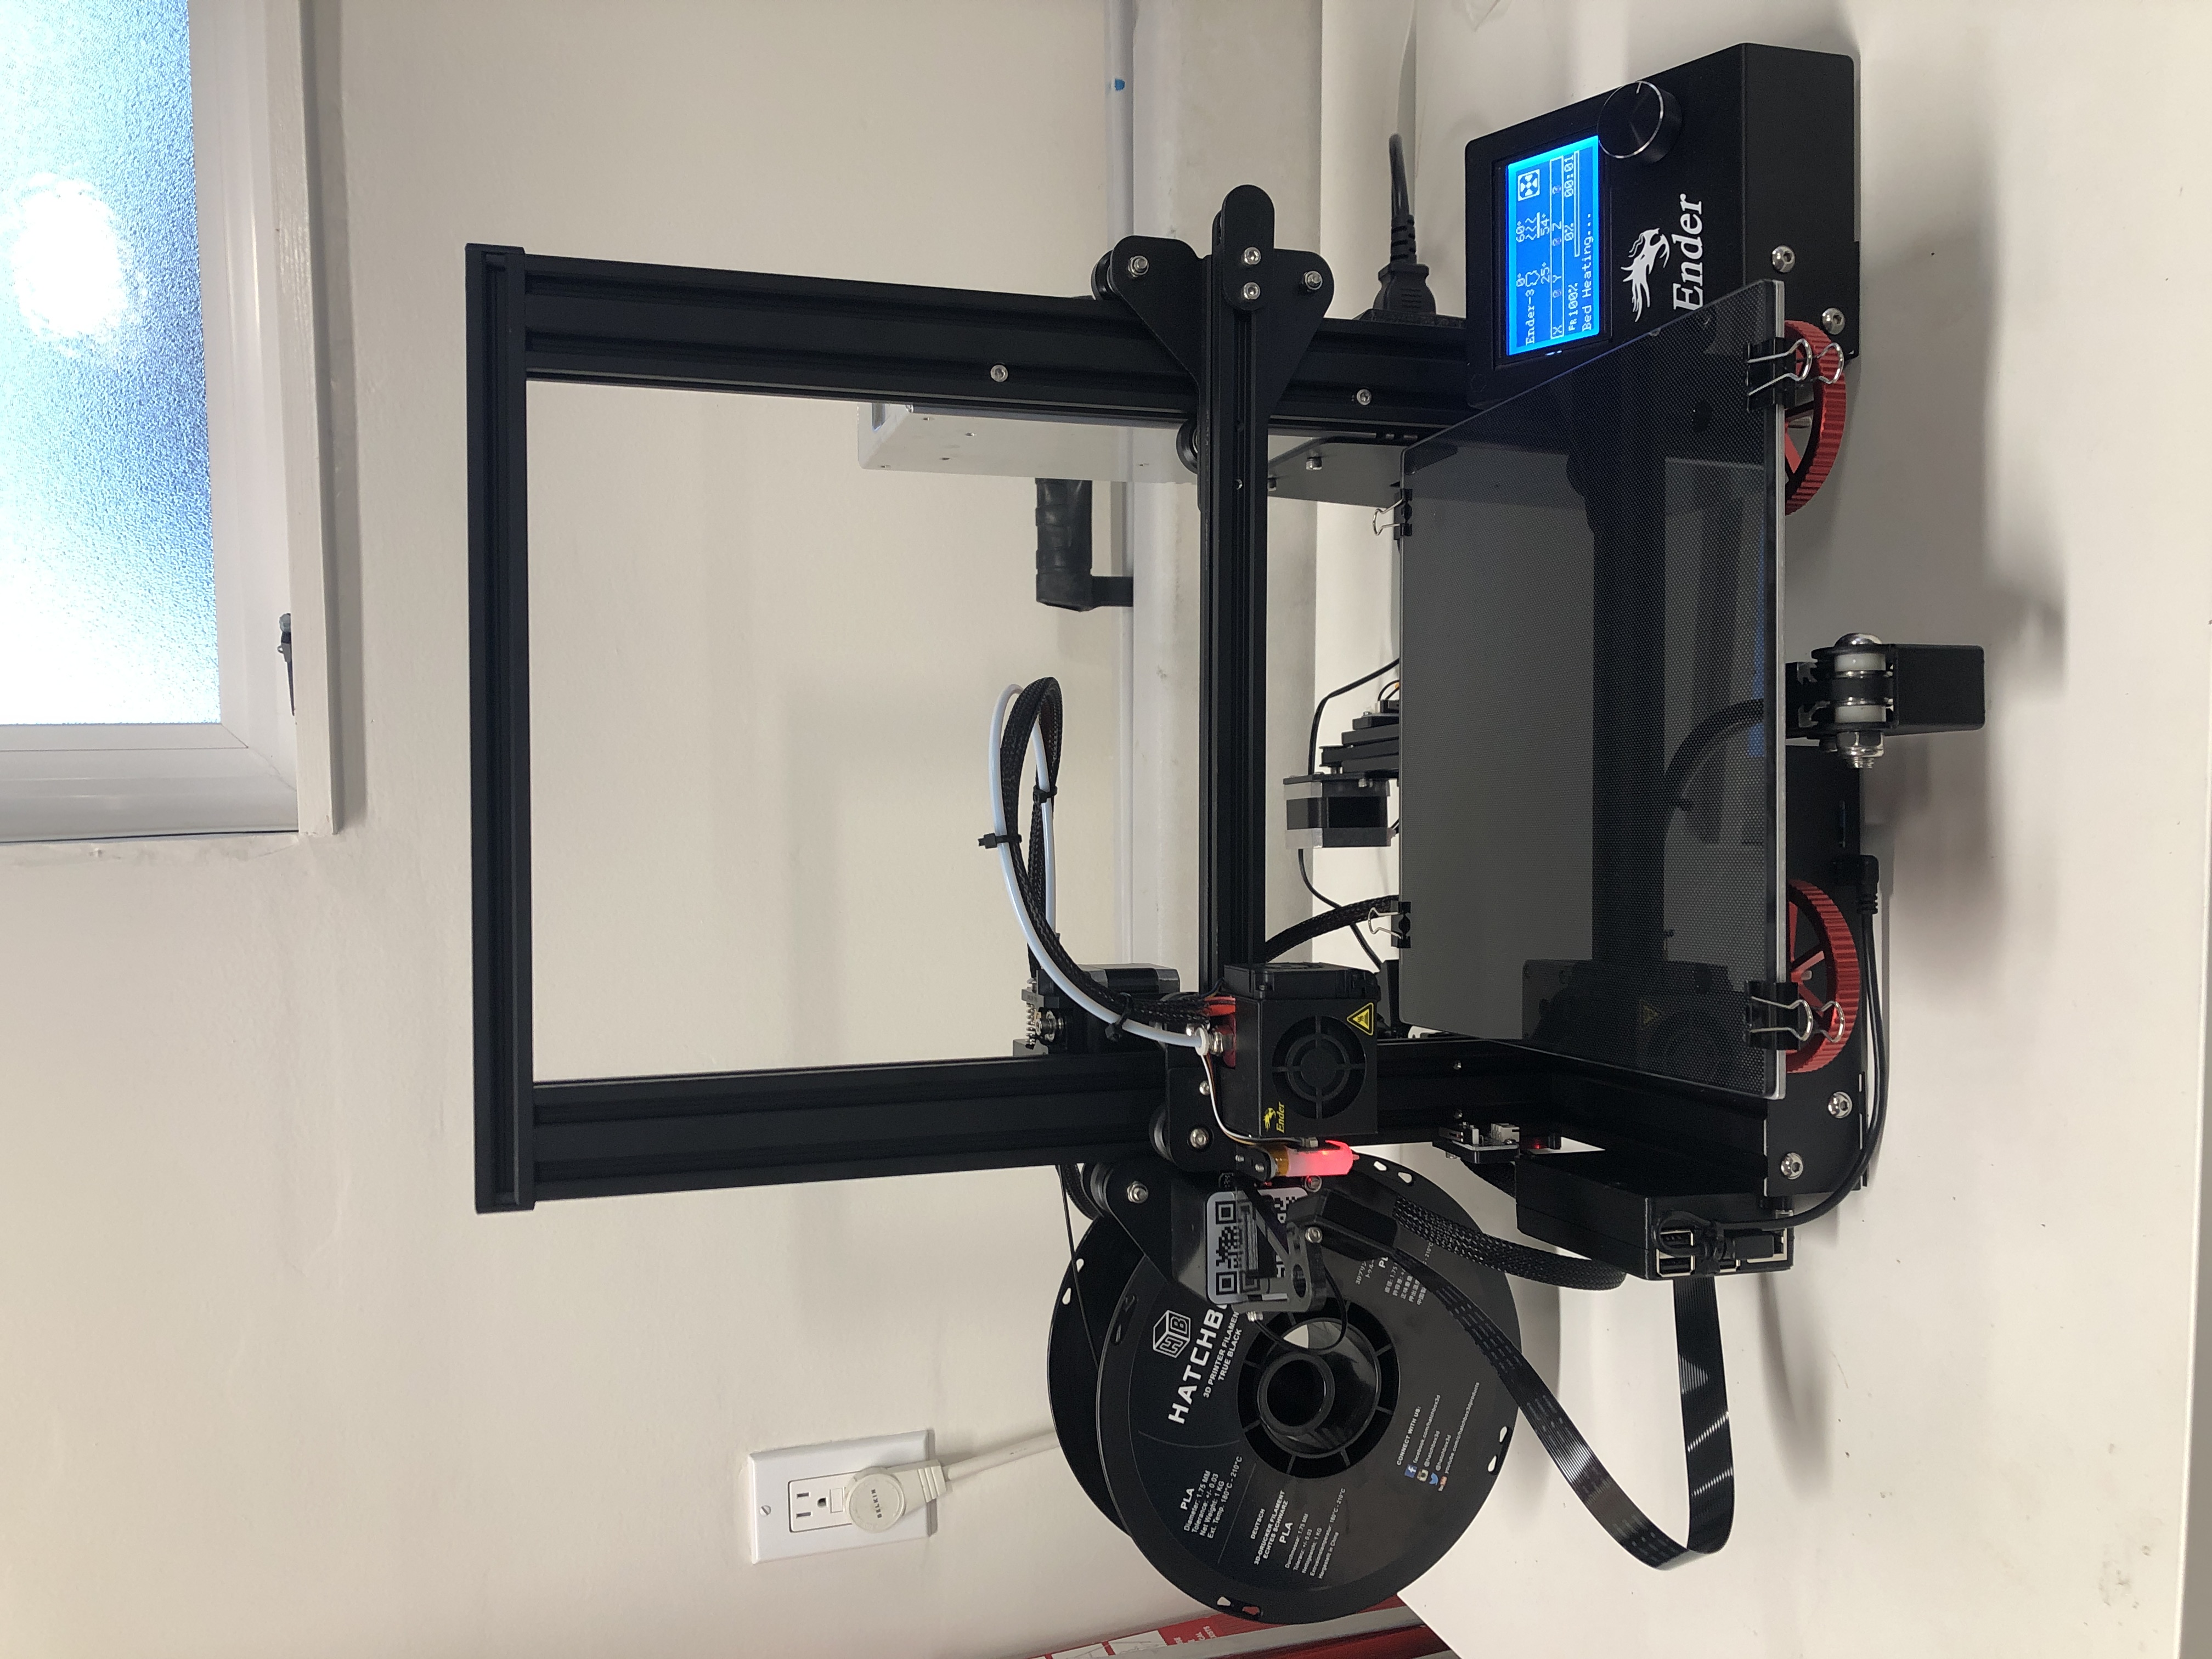
I decided to get the Creality Ender 3. Its one of the cheaper printers on the market, but its got a great reputation & a huge modding community that means you can with a few tweaks have access to features of much more expensive printers. The downside is that its very much the opposite of plug and play - expect to spend days or weeks putting it together, deciphering poor documentation, flashing custom firmware, wiring in mods, & printing out additional parts. With that said I kind of enjoy doing all of the aforementioned things and after spending a long weekend messing around with it, everything is running well.
What follows is a list of the various things I learned along the way & some of the mods & enhancements I added to get to my current setup
Gotchas
- The Ender 3 comes in a number of different variants & its not clear which one you’ll be getting when you purchase one. The biggest difference I could see is that some older models come with an 8bit mainboard, whereas newer ones come with a 32bit mainboard (of which there are also two variants 4.2.2 and 4.2.7). The 32bit board is much better - it comes with a bootloader which means you can flash new firmware from the SD-Card & don’t need to load one with an Arduino. It’s also much easier to wire in mods like the BLTouch as it has a dedicated port and doesn’t need any adapter boards.
- The default Creality firmware doesn’t save settings to EEPROM, it uses the SD card & they don’t seem to document this anywhere, so if you’re trying to save settings and its not working - thats why. In my case I use Octoprint to print from USB (more on that later), so I can just leave an SD-Card inserted at all times.
- Ender 3 (& most consumer printers) are FDM printers which means they build a model by layering many layers of filament over one another. This means that printing certain geometry is difficult - things like overhangs or roofs will need support structures to stay up while printing & models without a firm base will need extra skirts to stick well to the printer bed. There’s usually an optimal way to design or align a model for printing that minimizes the amount of throwaway support material you’ll need.
- 3D printers don’t typically print 100% solid parts, they save material by specifying a percentage of ‘infill’ and leave the rest of the internal structure of a model hollow. For most models that don’t need strength you can get away with 20% infill, but if your model needs more structural strength you’ll need to up this percentage.
Octoprint
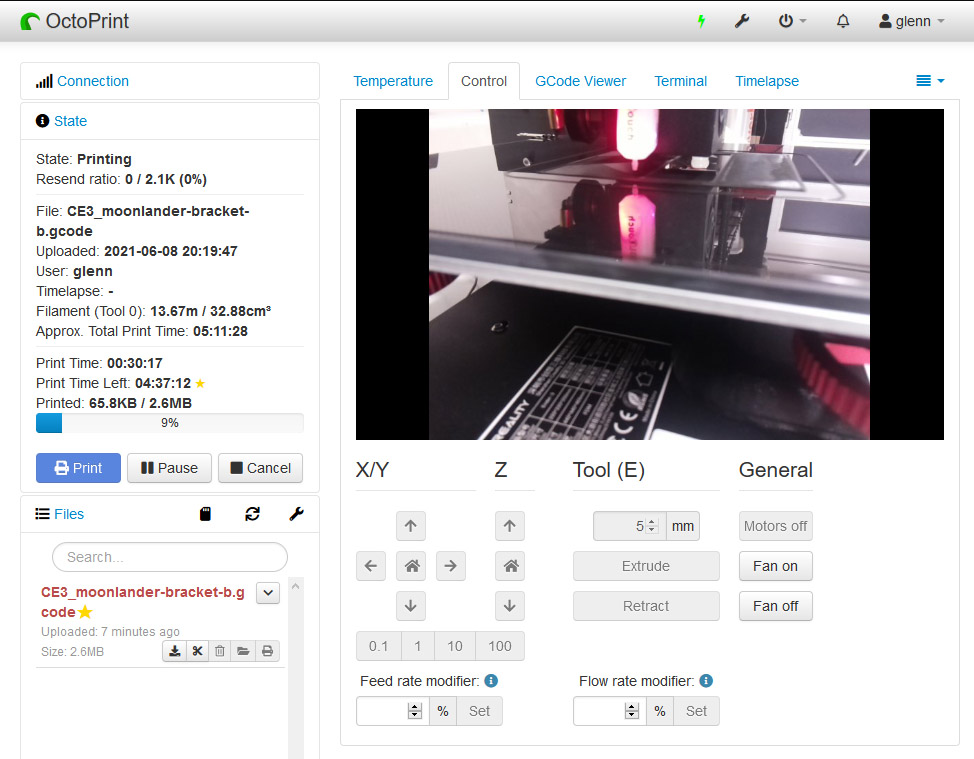 OctoPrint is a fantastic piece of software that allows you to remotely control your printer from a Raspberry Pi, including uploading new prints & even viewing a live video stream of the current print status. To set it up I used this guide, but I opted to use a different case for the Pi so I could side mount it and not have to run the camera cable underneath the printer.
- Raspberry PI case
- You’ll need to tape over 5v USB pin as sending power to the printer through the Pi does weird stuff like having the printer screen powered on while the main power supply is actually off.
- Make sure the micro USB cable has data sync support, not just 5v/gnd otherwise OctoPrint will not be able to connect to the printer. You’d be surprised how many micro USB cables are charging only - I had to try 3 I had lying around until I found one.
- Creality firmware sends doubled temperatures. OctoPrint warns you, but you’ll need to install this plugin to fix it.
Fire-safety
3D Printers get hot & the cheaper ones are often made with cheaper components, so you probably shouldn’t leave them running completely unattended for long periods of time & you should probably take some basic safety precautions to prevent the most likely causes of a fire.
- Update the firmware to ensure you’ve got thermal runaway protection.
- Add a fan shroud so that filament doesn’t get into the mainboard fan.
- Upgrade the PSU if you want - here’s a guide to switch to a quieter and more reliable MeanWell PSU.
- Get a smart plug to provide a direct power cutoff in case the printer PSU or mainboard has a failure. I used a hue switch like this.
- Install OctoPrint ‘Temperature Failsafe’ plugin & Use a shell command in the plugin settings to the smart plug to disable the power if the temperature goes over what you expect (see here for how to get the user id & switch id for your Hue switch). Once this is set up you can install the ‘PSU control’ plugin and use a similar command to power the printer on/off remotely.
curl -X PUT -d '{"on":false}' http://192.168.0.4/api/<hue-api-user-id>/lights/<switch-id>/state
Improve printing
- Get an auto bed leveller like BLTouch. You’ll have to update the firmware for this, but it makes it much simpler on each print as you won’t have to manually level the bed. Also Note 4.2.2 boards don’t need a 27pin adapter, they have a dedicated port that you can just plug in directly.
- Get a glass bed for better adhesion (I use this one - I also use it upside down as the non-coated side sticks better in my experience).
- Move the filament spindle to the side for a better filament path. I used this bracket.
- Swap out the default springs for a longer lasting level. I used these.
Slicing & Cura
Once you’ve downloaded a 3D model, you’ll need to ‘slice’ it to convert it into GCode instructions that your printer will actually execute to print the model. A popular free program for doing this is Cura & below is the start and end snippets of GCode you can configure it to run before & after every print. These snippets are important as your printer needs to pre-heat, home itself, clean the hot end, and home itself before it will be able to print successfully.
Start GCode
; Ender 3 Custom Start G-code
M140 S{material_bed_temperature_layer_0} ; Set Heat Bed temperature
M190 S{material_bed_temperature_layer_0} ; Wait for Heat Bed temperature
M104 S160; start warming extruder to 160
G28 ; Home all axes
G29 ; Auto bed-level (BL-Touch)
G92 E0 ; Reset Extruder
M104 S{material_print_temperature_layer_0} ; Set Extruder temperature
G1 X0.1 Y20 Z0.3 F5000.0 ; Move to start position
M109 S{material_print_temperature_layer_0} ; Wait for Extruder temperature
; G1 Z2.0 F3000 ; Move Z Axis up little to prevent scratching of Heat Bed
G1 X0.1 Y200.0 Z0.3 F1500.0 E15 ; Draw the first line
G1 X0.4 Y200.0 Z0.3 F5000.0 ; Move to side a little
G1 X0.4 Y20 Z0.3 F1500.0 E30 ; Draw the second line
G92 E0 ; Reset Extruder
G1 Z2.0 F3000 ; Move Z Axis up little to prevent scratching of Heat Bed
; End of custom start GCode
End GCode
G91 ;Relative positioning
G1 E-2 F2700 ;Retract a bit
G1 E-2 Z0.2 F2400 ;Retract and raise Z
G1 X5 Y5 F3000 ;Wipe out
G1 Z10 ;Raise Z more
G90 ;Absolute positioning

G1 X0 Y{machine_depth} ;Present print
M106 S0 ;Turn-off fan
M104 S0 ;Turn-off hotend
M140 S0 ;Turn-off bed

M84 X Y E ;Disable all steppers but Z
Next steps
I’m now printing pretty reliably good prints with PLA, so the next thing is to familiarize myself with Blender so I can put together some custom 3D models to print. The first project I want to tackle is a custom tenting mount for my ZSA Moonlander keyboard - If thats successful I’ll post the results up here in future.
Update: I did end up creating the moonlander bracket. You can check it out here. Its also listed on the ZSA printables page here.